Build Docker Image Using Dockerfile
In this section, you will learn to build a docker image using a real-world example. We will create an Nginx docker image from scratch with a custom index page.
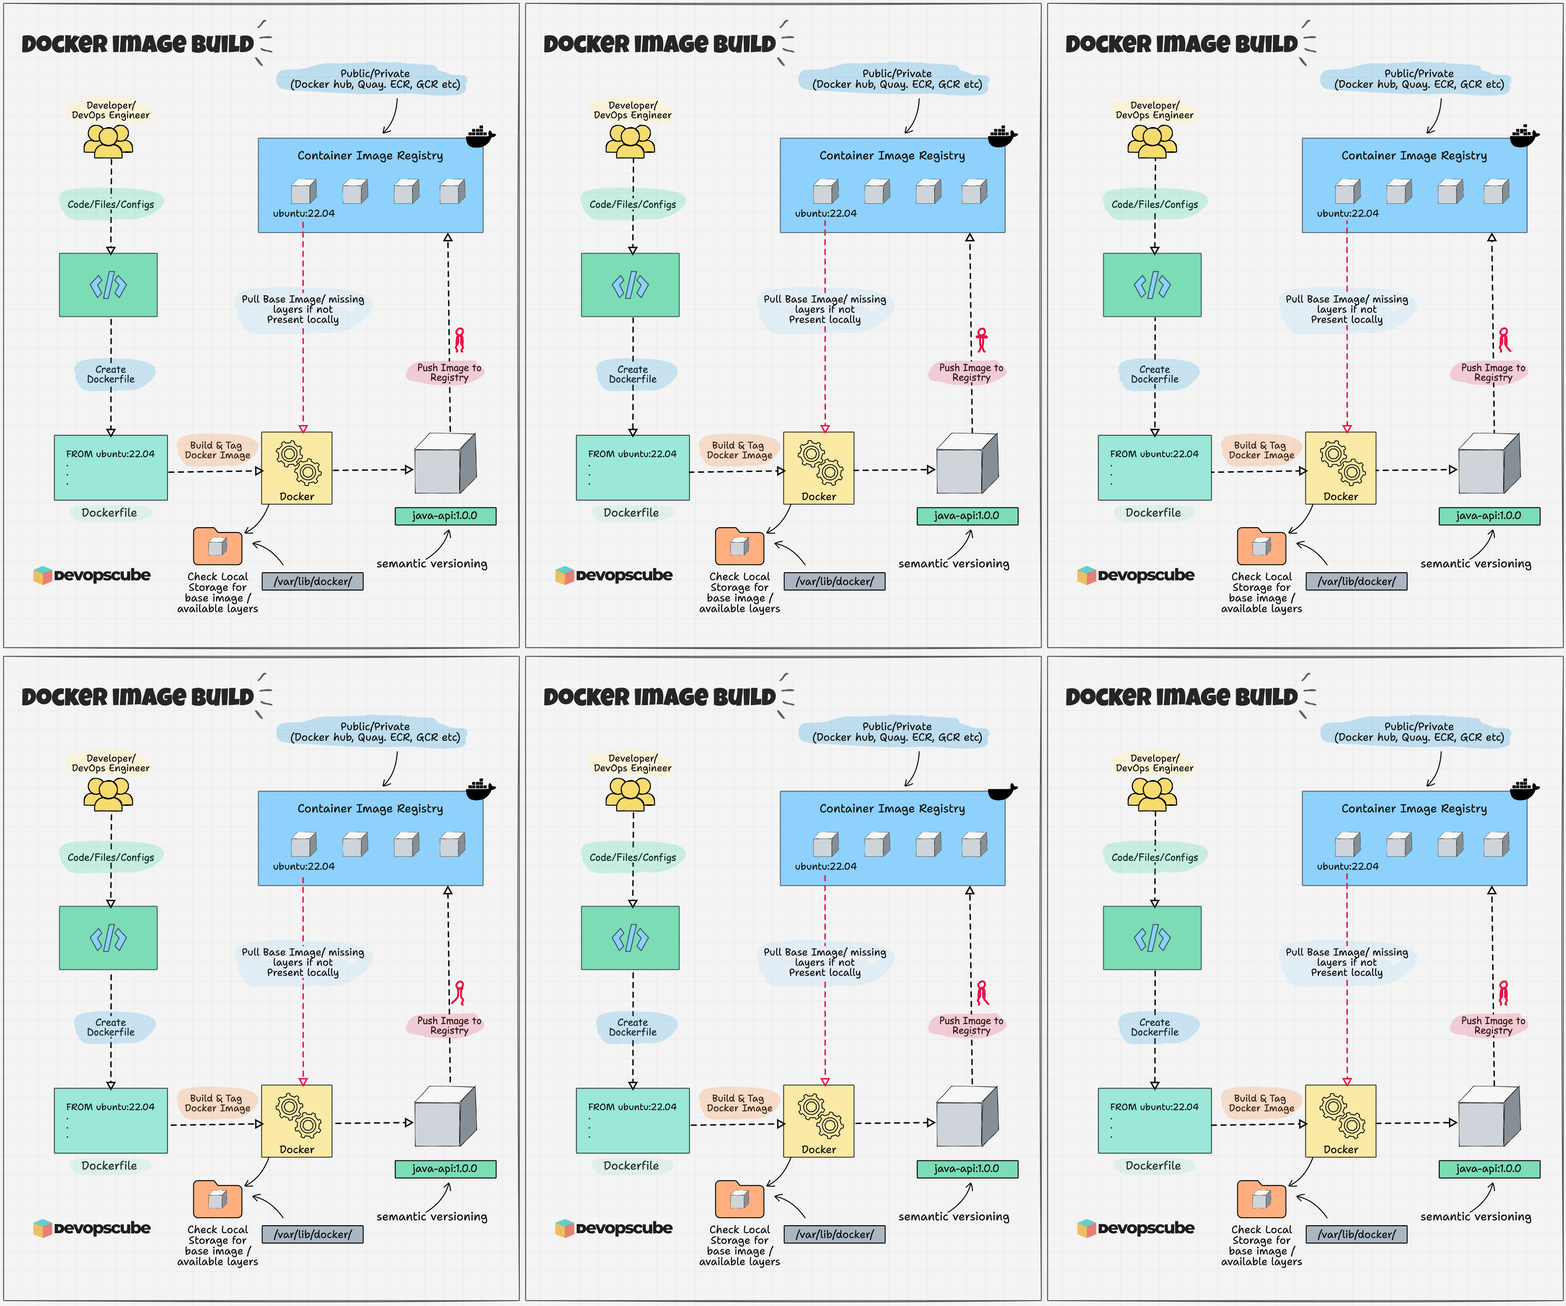
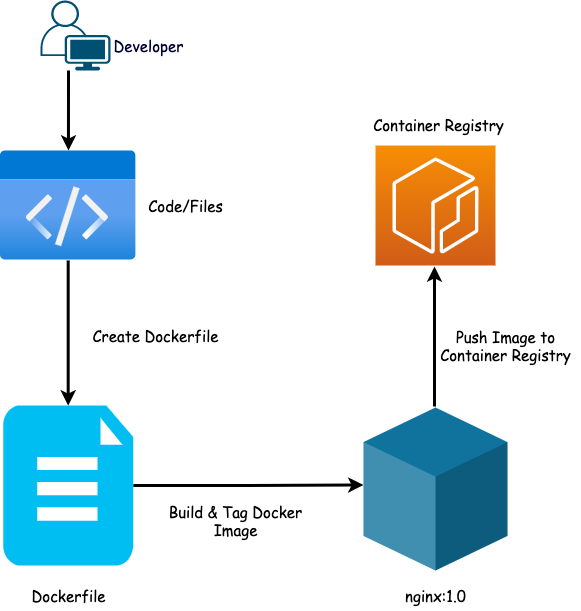
The following image shows the high-level workflow of the image build process.
Step 1: Create the required Files and folders
Create a folder named nginx-image and create a folder named files
mkdir nginx-image && cd nginx-image
mkdir files
Create a .dockerignore file
touch .dockerignoreStep 2: Create a sample HTML file and config file
When you build a docker image for real time project, it contains code or application config files. For this demo purposes we will create a simple HTML file and config file as our app code and package it using docker app. This is a simple index.html file. You can go ahead and create yours if you want.
cd into your files folder
cd filesAnd create index.html file
vi index.htmlCopy the following contents to the index.html and save the file.
<html>
  <head>
    <title>Dockerfile</title>
  </head>
  <body>
    <div class="container">
      <h1>My App</h1>
      <h2>This is my first app</h2>
      <p>Hello everyone, This is running via Docker container</p>
    </div>
  </body>
</html>
Create a file name default
vi defaultCopy the following contents to the default file.
server {
    listen 80 default_server;
    listen [::]:80 default_server;

    root /usr/share/nginx/html;
    index index.html index.htm;

    server_name _;
    location / {
        try_files $uri $uri/ =404;
    }
}
Step 3: Choose a Base Image
We use FROM command in the Dockerfile which instructs Docker to create an image based on an image that is available on the Docker hub or any container registry configured with Docker. We call it a base image.
It is similar to how we create Virtual machines on the cloud from a virtual machine image.
Choosing a base image depends on our application and os platform of choice. In our case, we will pick the ubuntu:18.04 base image.
Note: Always use official/org approved base images for your applications to avoid potential vulnerabilities. Towards the end, we have added all the public registries that has verified container base images. Also, when it comes to production use cases, always use a minimal base image like alpine (just 5 Mib) or distroless images. Distroless alpine is just 2 MiBStep 3: Create the Dockerfile
Create a Dockerfile in the nginx-image folder.
vi Dockerfile
Here’s the simple Dockerfile content for our use case. Add the content to the Dockerfile.
FROM ubuntu:18.04
LABEL maintainer="contact@devopscube.com"
RUN  apt-get -y update && apt-get -y install nginx
COPY files/default /etc/nginx/sites-available/default
COPY files/index.html /usr/share/nginx/html/index.html
EXPOSE 80
CMD ["/usr/sbin/nginx", "-g", "daemon off;"]
Here’s the explanation of each step:
- With
LABELinstruction, we are adding metadata about the maintainer. It is not a mandatory instruction. FROMinstruction will pull the Ubuntu 18.04 version Image from the Docker hub.- In the second line, we’re installing Nginx.
- Then we’re copying the Nginx default config file from the local
filesdirectory to the target image directory. - Next, we’re copying our
index.htmlfile from the localfilesdirectory into the target image directory. It will overwrite the default index.html file created during the Nginx installation. - We’re exposing port 80 as the Nginx service listens on port 80.
- At last, we’re running the Nginx server using
CMDinstructions when the Docker image launches.
For Docker containers, the daemon off; directive tells Nginx to stay in the foreground. This means the nginx process will keep running and won’t stop until you stop the container. It disables the self-daemonizing behavior of Nginx. The -g option specifies a directive to Nginx.
The reason we run the process in the foreground is to attach the console process to standard input, output, and error. Meaning, you can see logs or messages from the Nginx process
Step 4: Build your first Docker Image
The final folder & file structure would look like the following.
nginx-image
├── Dockerfile
└── files
    ├── default
    └── index.html
Now, we will build our image using the Docker command. The below command will build the image using Dockerfile from the same directory.
docker build -t nginx:1.0 .- -t is for tagging the image.
nginxis the name of the image.1.0is the tag name. If you don’t add any tag, it defaults to the tag named latest.- . (dot) at the end means, we are referring to the Dockerfile location as the docker build context. That is our current directory.

If the Dockerfile is in another folder then you need to specify it explicitly.
docker build -t nginx /path/to/folder Now, we can list the images by using this command.
docker images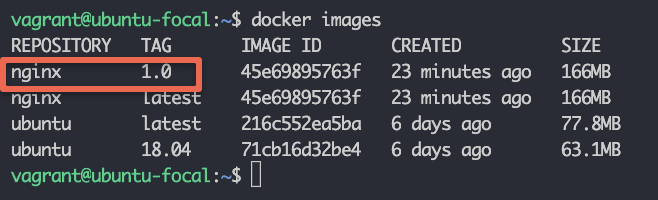
We can see the tag is 1.0 here. If we want to put a specific tag we can put it like this image-name:<tag>. If you don’t specify any tag, it defaults to latest tag.
docker build -t nginx:2.0 .A single image can have multiple tags. There are two approaches we generally follow to tag the image:
- Stable Tags – We can continue to pull a specific tag, which continues to get updates. Our tags are always constant, but the image content is changed.
- Unique Tags – We use a different and unique tag for each image. There are different ways to provide unique tags for example date-time stamp, build number, commit ID, etc.
Note: When it comes to production, a recommended docker image tagging method is semantic versioning (Semver).Docker caches the build steps. So if we build the image again the process will move a little faster. For example, it will not download the Ubuntu 18.04 image again.
Using large images slows down the build and deployment time of containers. If you want to learn more about optimizing Docker images, check out reduce docker image guide.
Step 5: Test the Docker Image
Now after building the image, we will run the Docker image. The command will be
docker run -d -p 9090:80 --name webserver nginx:1.0
Here,
-dflag is for running the container in detached mode-pflag for the port number, the format is local-port:container-port--namefor the container name, webserver in our case
We can check the container by using the below command
docker ps
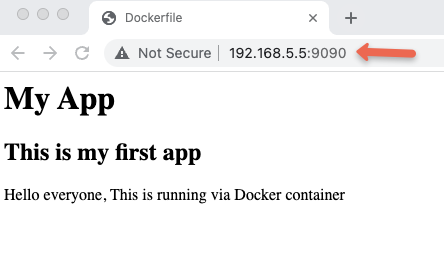
Now in the browser, if you go to http://<host-ip>:9090, you can see the index page which displays the content in the custom HTML page we added to the docker image.
Push Docker Image To Docker Hub
To push our Docker image to the Docker hub, we need to create an account in the Docker hub.
Post that, execute the below command to log in from the terminal. It will ask for a username and password. Provide the Docker hub credentials.
docker login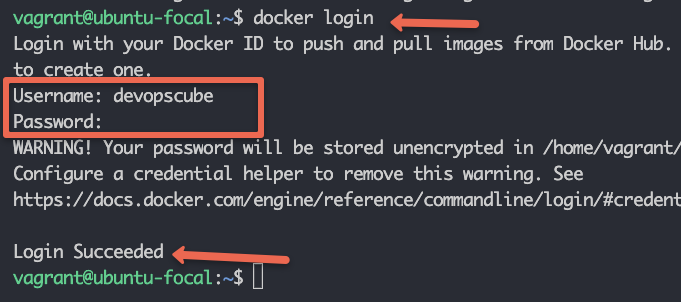
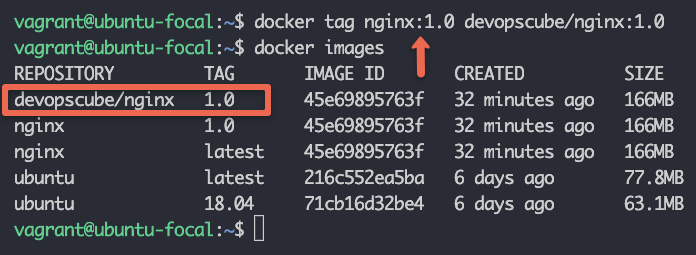
After login, we now need to tag our image with the docker username as shown below.
docker tag nginx:1.0 <username>/<image-name>:tagFor example, here devopscube is the dockerhub username.
docker tag nginx:1.0 devopscube/nginx:1.0Run docker images command again and check the tagged image will be there.
Now we can push our images to the Docker hub using the below command.
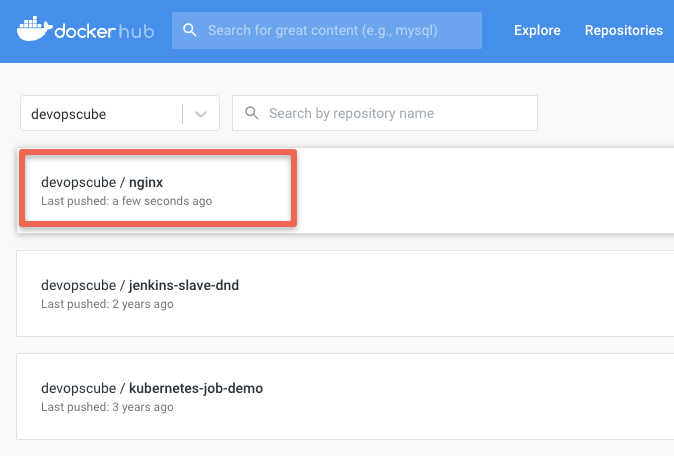
docker push devopscube/nginx:1.0Now you can check this image will be available in your Docker Hub account.